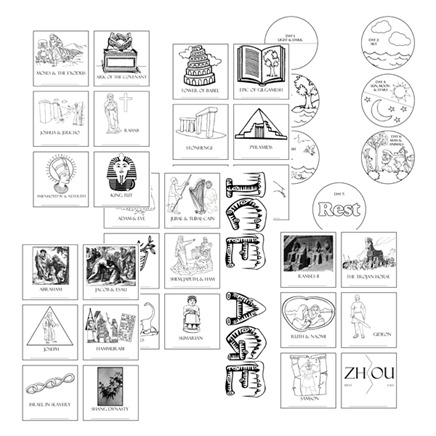
Creation - Resurrection Timeline Figures - Classroom PDF$23.95
Creation - Resurrection Timeline Figures
Please note: This item is a digital download. This license is to be used if you are sharing the curriculum in a class or co-op. This version allows for printing of materials for multiple students as well as teachers in a classroom or co-op setting. If you have multiple children that are your own, i.e. not daycare or co-op, you do not need to purchase the classroom version. Why create a timeline?Timelines are a wonderful way to see all of history in one glance! They make it easier to see when things happened, as well as what was happening before, during, and after certain events. They’re also great for visual learners and kinesthetic learners as they are a hands-on approach to learning the history of our world! Since your children will be coloring and filling in some of the information on each figure, they’ll remember the event, person, or thing much better than just reading about it in a book. It’s much like putting together a puzzle, using a timeline will help students make all of the connections between historical events as they place each piece. This set of figures was created specifically for major events from creation of the world to the resurrection, and can also be used with any history curriculum that covers the same time period. 
(Not all figures shown)
What’s Included? This download includes 142 individual timeline figures that students can add to a timeline wall or binder as they learn. This set of figures was created to cover main figures in history from creation to the resurrection, and can be used with most history curricula that covers the same time period. As you progress through your curriculum, you can have students cut out the appropriate timeline figure, color the piece, and add in the appropriate dates for each item. Once completed, students can add the figures to their timeline. Figures in this set are approximately 2” x 2” each. How do I make a timeline?There are several ways you can create a timeline for your students. The amount of wall space, or storage space will be a determining factor in your choice of styles. Here are a few ways to help you get started!
Customers who bought this product also purchased... |